Free Fire Sensitivity Settings for Headshot 2026 Complete Device Guide
Introduction
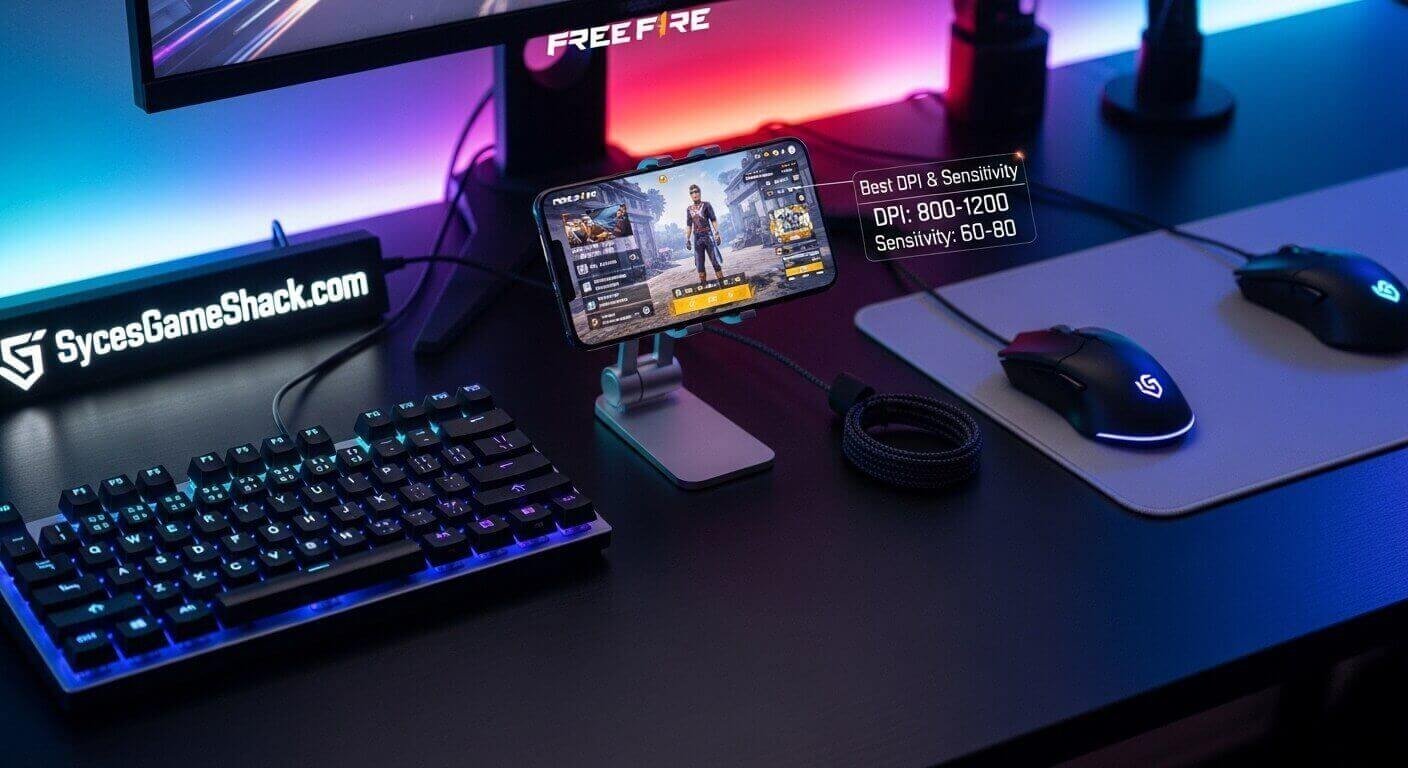
Consistent headshots in Free Fire are not about luck or hacks. They come from one thing: correct sensitivity settings combined with the right technique.
Your sensitivity settings determine how fast your crosshair moves when you drag your finger on the screen. Too high and you overshoot targets. Too low and you cannot react fast enough in close-range fights.
This complete guide provides the best Free Fire sensitivity settings for headshots in 2026, customized for every device type from 2GB RAM budget phones to 8GB RAM flagship devices, plus the techniques professional players use to hit consistent red numbers.
What Is Sensitivity in Free Fire and Why Does It Matter?
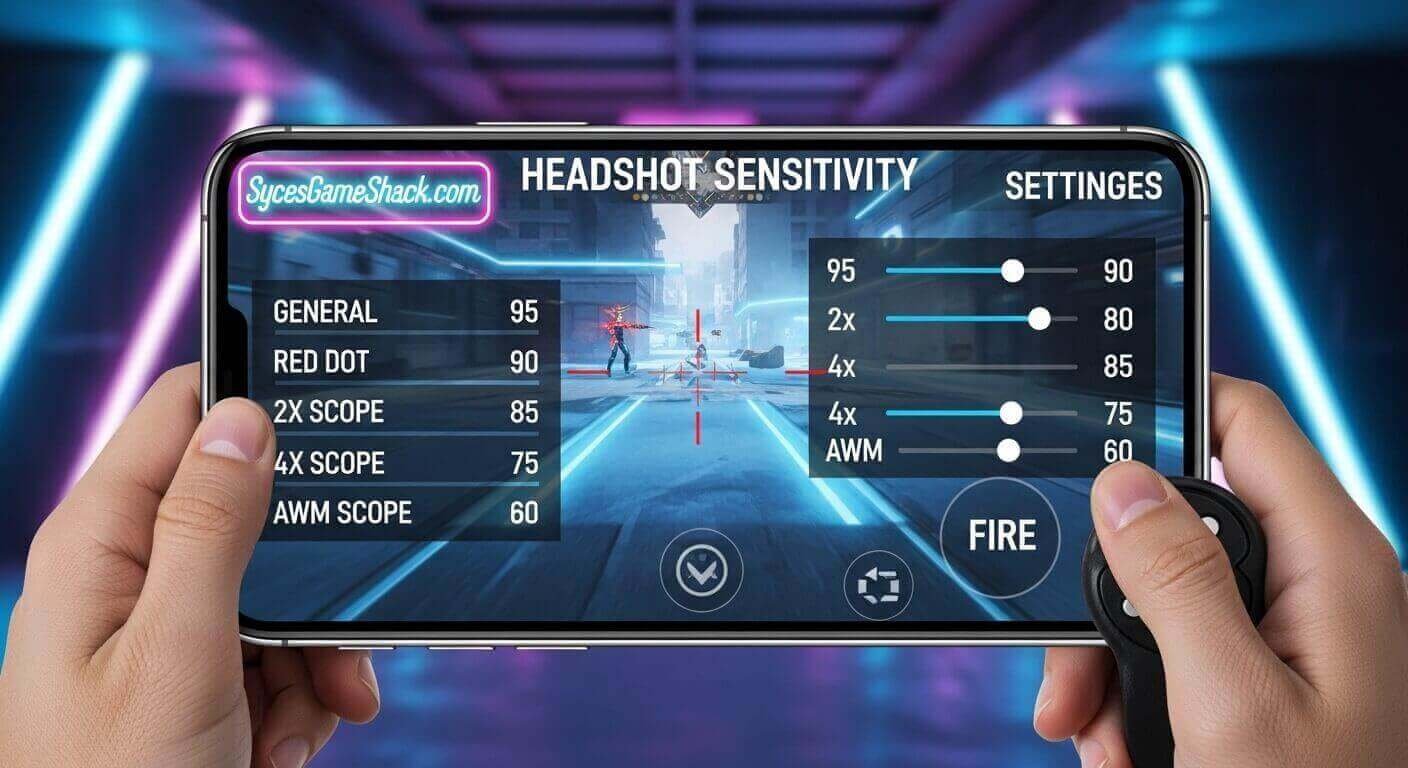
Sensitivity in Free Fire controls the speed of your camera and aiming movement in response to your finger touching the screen. Each type of scope or combat situation has its own dedicated sensitivity value.
Getting your sensitivity right is the single most impactful technical improvement you can make as a player. Professional Free Fire players spend hours calibrating sensitivity before tournaments because the right values directly translate to more headshots, better recoil control, and faster reactions in close-range fights.
Understanding Each Sensitivity Type
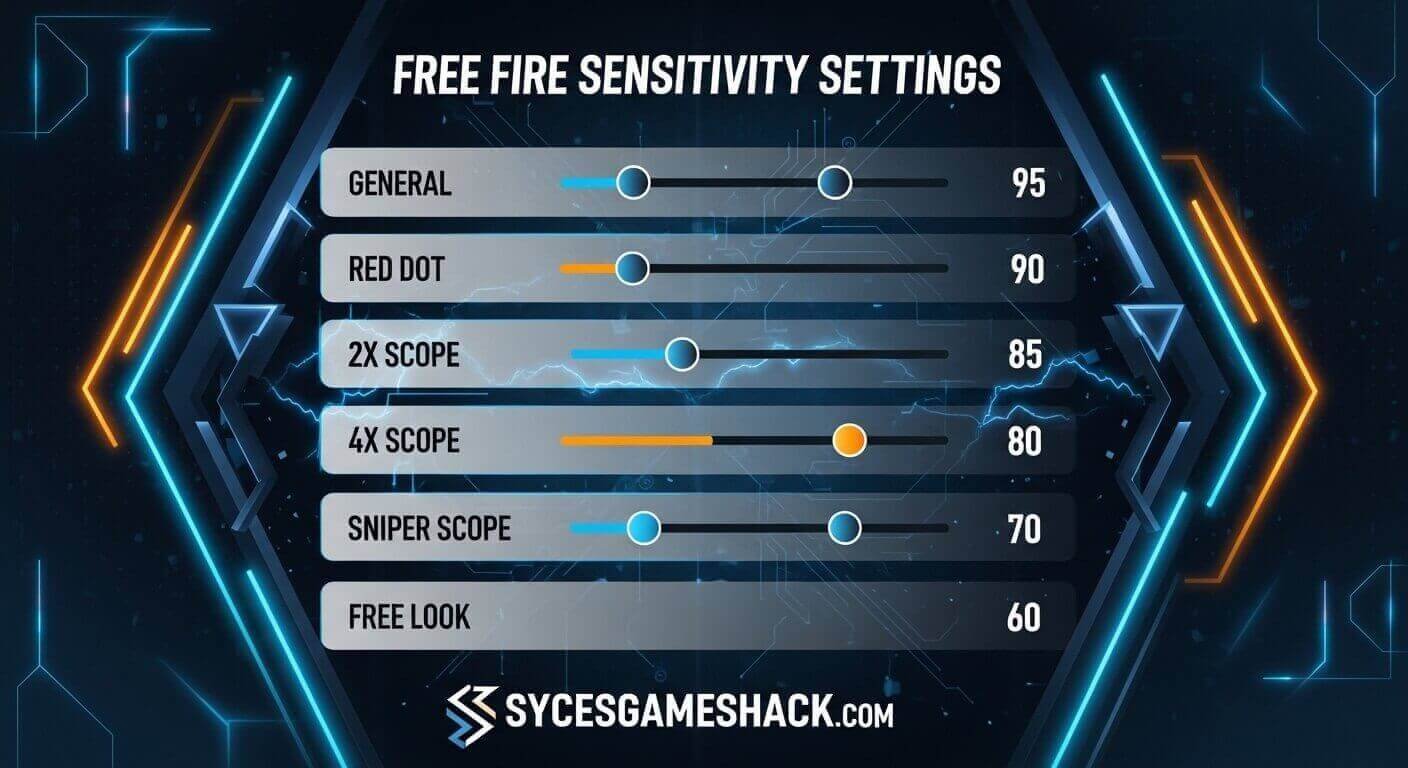
- General Sensitivity controls how fast your camera moves when looking around without any weapon scope active. This is the most critical value for drag headshots in close-range combat.
- Red Dot / Iron Sight Sensitivity controls your aim speed when using red dot sights or iron sights. Important for close to mid-range engagements.
- 2x Scope Sensitivity controls aim speed with a 2x scope, the most common medium-range scope in Free Fire.
- 4x Scope Sensitivity controls aim speed at 4x magnification, used for medium to long-range engagements.
- Sniper Scope Sensitivity controls aim movement when using sniper rifles at maximum zoom. Lower values give more precise control for long-range shots.
- Free Look Sensitivity controls how fast the camera moves when using the free-look button to check surroundings without moving your character.
Best Free Fire Sensitivity Settings 2026 By Device
Settings for 2GB RAM Devices (Budget Phones)
Budget phones with 2GB RAM experience frame drops that make high sensitivity values uncontrollable. Use lower values for stability and precision.
| Sensitivity Type | Recommended Value |
|---|---|
| General | 95 – 105 |
| Red Dot | 85 – 95 |
| 2x Scope | 75 – 85 |
| 4x Scope | 60 – 70 |
| Sniper Scope | 45 – 55 |
| Free Look | 80 – 90 |
Important for 2GB devices: Set Graphics to Smooth and Frame Rate to High (40 FPS) before adjusting sensitivity. Unstable frame rate makes any sensitivity setting feel inconsistent.
Settings for 3GB RAM Devices (Mid-Budget Phones)
3GB RAM devices offer better stability than 2GB, allowing slightly higher values for faster drag shots.
| Sensitivity Type | Recommended Value |
|---|---|
| General | 105 – 120 |
| Red Dot | 90 – 105 |
| 2x Scope | 80 – 92 |
| 4x Scope | 65 – 78 |
| Sniper Scope | 50 – 62 |
| Free Look | 85 – 98 |
Settings for 4GB RAM Devices (Standard Mid-Range)
4GB RAM devices are the sweet spot for Free Fire in 2026. Most players in this range can use higher sensitivity values with good stability.
| Sensitivity Type | Recommended Value |
|---|---|
| General | 120 – 140 |
| Red Dot | 100 – 115 |
| 2x Scope | 88 – 100 |
| 4x Scope | 72 – 85 |
| Sniper Scope | 55 – 68 |
| Free Look | 95 – 110 |
Settings for 6GB+ RAM Devices (High-End Phones)
High-end devices can handle aggressive sensitivity values that allow faster reactions and more dynamic drag headshots.
| Sensitivity Type | Recommended Value |
|---|---|
| General | 140 – 165 |
| Red Dot | 110 – 130 |
| 2x Scope | 95 – 112 |
| 4x Scope | 80 – 95 |
| Sniper Scope | 60 – 75 |
| Free Look | 105 – 125 |
Pro Player Headshot Sensitivity Reference 2026
These are the sensitivity ranges used by top-ranked Free Fire players in 2026 competitive matches. Use these only as reference points; professional players use flagship devices with stable 60 FPS and have years of muscle memory built around these values.
| Sensitivity Type | Pro Player Range |
|---|---|
| General | 150 – 175 |
| Red Dot | 120 – 145 |
| 2x Scope | 100 – 120 |
| 4x Scope | 82 – 98 |
| Sniper Scope | 62 – 78 |
| Free Look | 110 – 130 |
Do not copy these values directly onto a budget device. These settings are calibrated for high-end hardware at a consistent 60 FPS. Applying them to a 2GB or 3GB RAM phone will cause overshoot and make the aim unstable.
How to Apply Sensitivity Settings in Free Fire
Follow these steps to change your sensitivity settings:
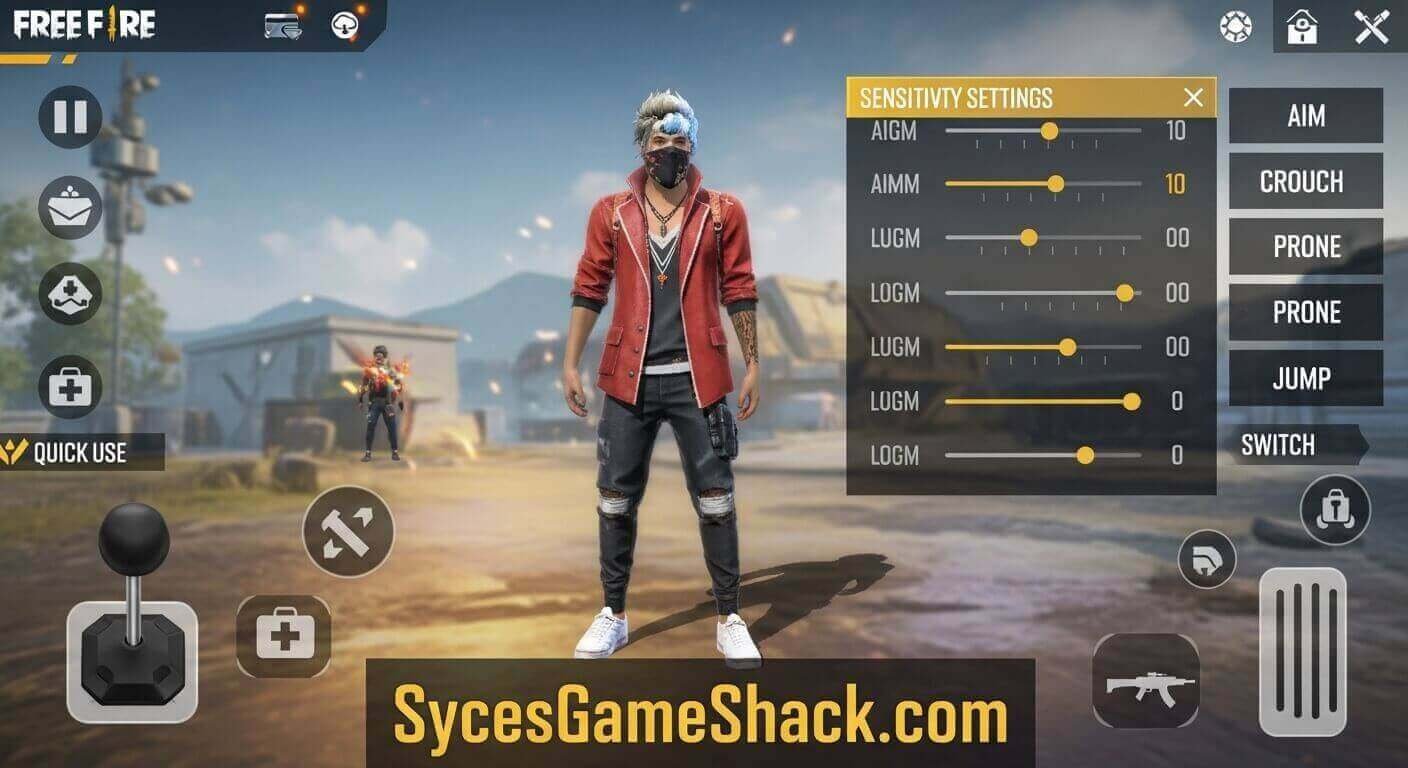
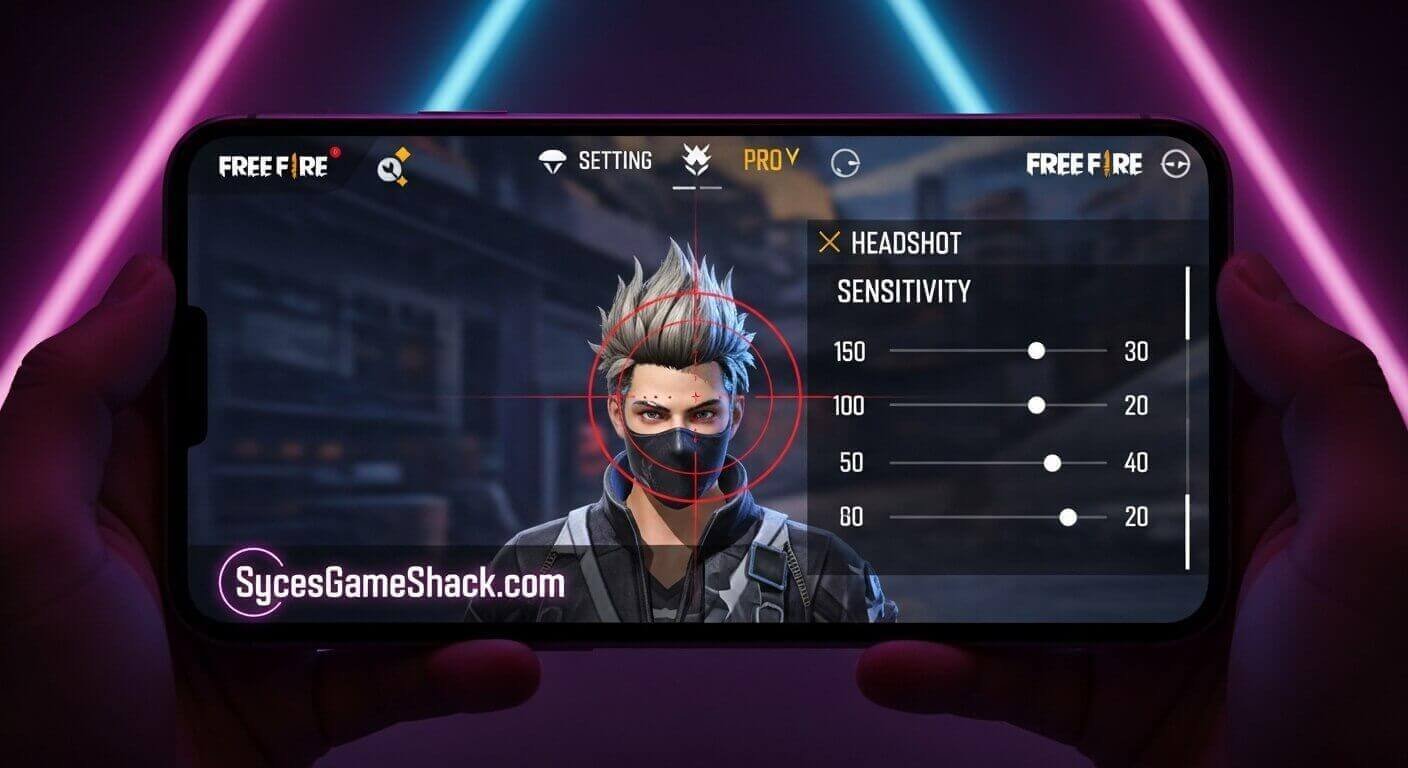
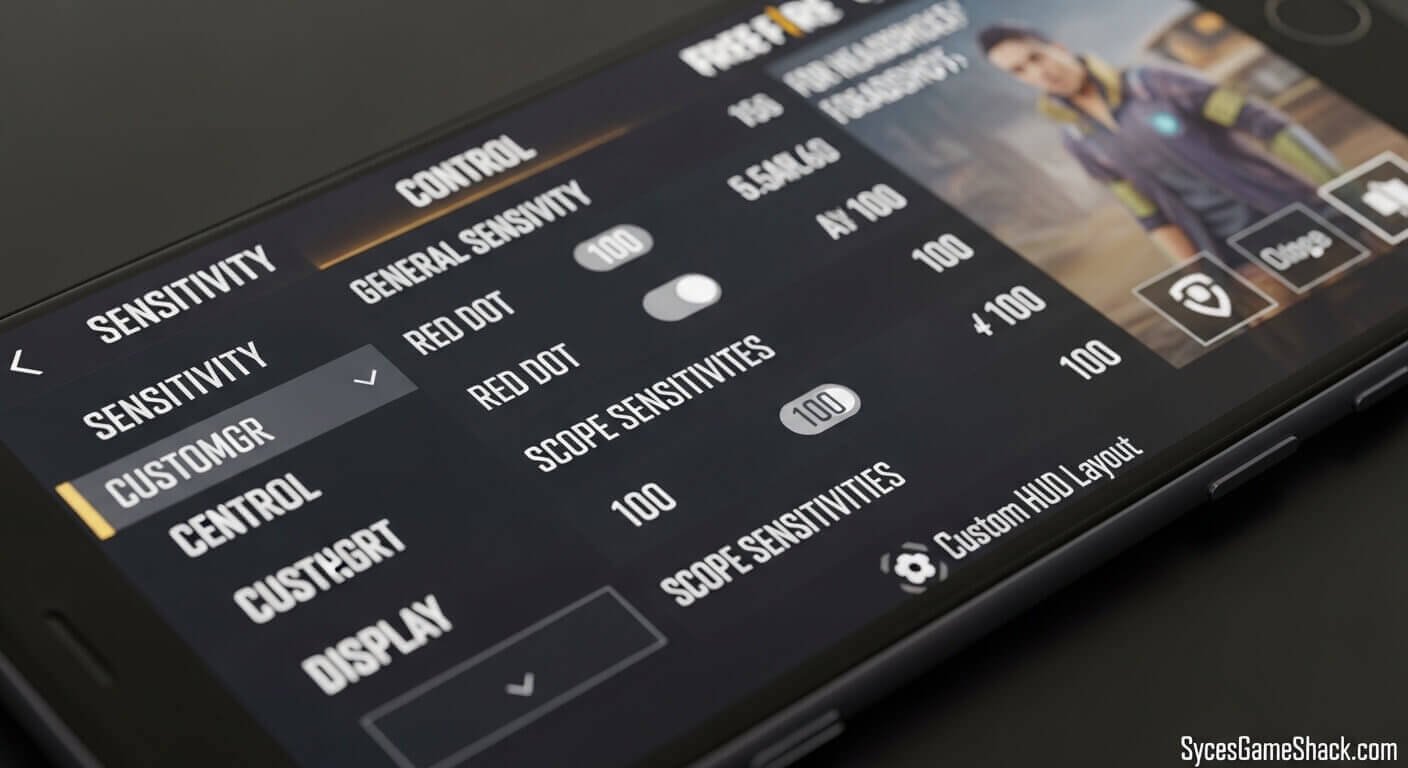
- Step 1: Open Free Fire and tap the Settings icon in the top right corner of the lobby screen.
- Step 2: Select the Sensitivity tab from the left menu.
- Step 3: You will see separate sliders for General, Red Dot, 2x Scope, 4x Scope, Sniper Scope, and Free Look.
- Step 4: Adjust each slider to your target value. You can type values directly or drag the sliders.
- Step 5: Tap Save to confirm your settings.
- Step 6: Go to the Training Ground immediately and practice the drag headshot technique for 15 to 20 minutes with your new settings before playing ranked matches.
The Drag Headshot Technique Step by Step
Sensitivity settings only help when paired with the correct technique. The drag headshot is the most effective legitimate method for consistent headshots in Free Fire.
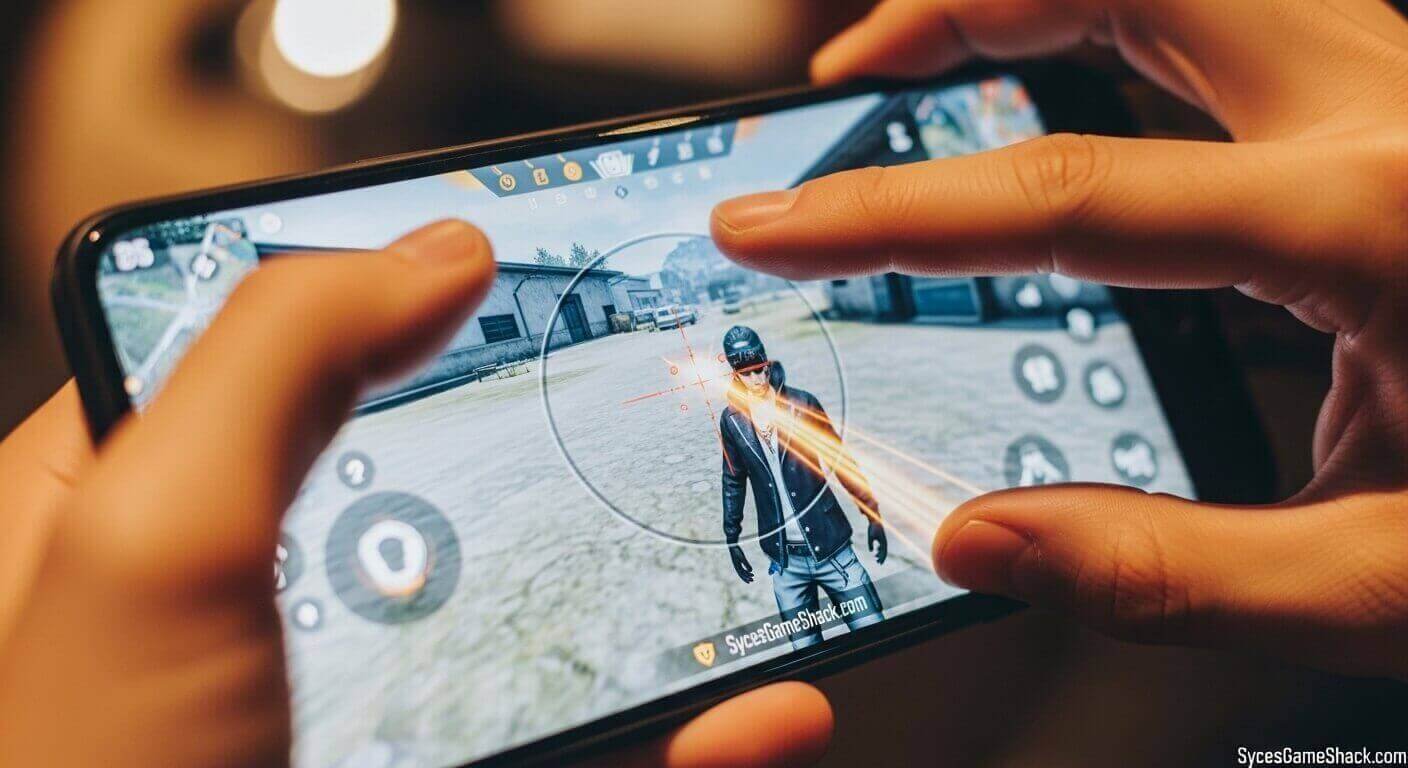
- Step 1: Aim at Chest Level. Start with your crosshair pointed at the enemy’s chest, not their head. Aiming at the chest gives you upward drag room and increases your hit chance on the initial shot.
- Step 2: Press and Hold the Fire Button. Press and hold your fire button without releasing it.
- Step 3: Drag Upward Toward the Head. While holding the fire button, immediately drag your aim upward toward the enemy’s head in one smooth motion. The combination of upward drag and natural bullet spread significantly increases your headshot rate.
- Step 4: Practice the Motion Daily. The drag headshot requires muscle memory to execute under pressure. Spend 15 to 20 minutes in the Training Ground daily practicing this technique on both stationary and moving targets. Most players see noticeable improvement within two to three weeks of consistent daily practice.
Best Weapons for Headshots in Free Fire 2026
Your weapon choice directly affects headshot potential. These are the best weapons for headshots at each range:
- Close Range M1887 Shotgun The M1887 is designed for drag headshots. One well-placed drag shot to the head eliminates any opponent instantly, regardless of armor. The gun’s high damage per shot and fast reload make it the preferred close-range headshot weapon among professional players.
- Close to Mid Range MP40 SMG. The MP40’s extremely high fire rate makes it forgiving for beginners learning the drag technique. Aim at the chest and let the natural upward recoil carry your bullets toward the head level. The combination of high fire rate and upward recoil produces consistent headshots with practice.
- Mid Range M4A1 or Groza: Use burst fire (2 to 3 shots) rather than continuous spray for mid-range headshots. Shorter bursts maintain accuracy and make the drag technique more controllable at medium distances.
- Long Range AWM or Woodpecker. For snipers, the AWM guarantees a headshot kill at any distance. The Woodpecker rewards precise aim with extra armor penetration damage per accurate hit.
Best Character Combination for Headshots

Pairing the right characters enhances your headshot potential mechanically:
- Laura provides up to 35% accuracy increase when using a scoped weapon, directly increasing your headshot percentage at medium and long range.
- Rafael silences your shots when using a sniper rifle, preventing enemies from detecting your position after a missed shot and allowing follow-up headshots.
- Jota restores HP on successful hits, keeping you healthy during the close-range fights where drag headshots are most valuable.
- Moco marks hit enemies, revealing their position to your squad useful for coordinating follow-up headshots after initial damage.
Recommended combination for headshot-focused play: Laura + Rafael + Jota + Moco
HUD and Fire Button Settings for Headshots
Your HUD (Heads-Up Display) layout significantly affects how well you can execute drag headshots.
- Fire Button Size: Set between 50% and 70%. A larger fire button provides more surface area for the upward drag motion, reducing missed inputs during fast-paced fights.
- Fire Button Position: Place your fire button on the right side of the screen where your dominant thumb rests naturally. Most pro players position it slightly lower than center for a comfortable upward drag motion.
- Claw Setup: Beginners start with a 2-finger layout. Progress to a 3-finger claw setup as your coordination improves. A 3-finger setup allows simultaneous movement, aiming, and firing, dramatically improving your headshot consistency in moving firefights.
How to Test and Fine-Tune Your Sensitivity
Never test sensitivity settings in ranked matches. Always calibrate in the Training Ground using this method:
- Target Practice Test: Stand at various distances from a training dummy and practice drag headshots for 10 minutes. If you consistently overshoot (aim lands above the head), lower your General sensitivity by 5 points. If you undershoot (aim stops at body), increase General sensitivity by 5 points.
- Moving Target Test: Practice on moving bots in the Training Ground. Moving targets reveal whether your sensitivity allows fast enough tracking to maintain headshot aim as opponents strafe.
- Recoil Control Test: Spray a full magazine at a wall from medium distance. Observe the bullet pattern. If bullets climb too fast and spread wide, lower your General sensitivity. If bullets stay too low and grouped, increase it slightly.
Make one adjustment at a time and test for 15 to 20 minutes before making further changes. Changing multiple values simultaneously makes it impossible to identify which adjustment helped or hurt your performance.
Common Sensitivity Mistakes to Avoid
Copying Pro Player Settings Blindly

Professional players use flagship devices with 120Hz screens and consistent 60 FPS performance. Their sensitivity values are calibrated for that specific hardware environment. Copying them onto a budget phone with a 60Hz screen and unstable frame rate produces worse results than calibrating values for your own device.
Changing Settings Too Frequently
Every time you change sensitivity, your muscle memory resets. Most players never develop consistent aim because they switch settings after every few matches. Commit to a setting for at least 30 matches before evaluating whether it needs adjustment.
Ignoring Frame Rate Stability

High sensitivity values require a stable FPS to be effective. If your device drops frames frequently, lower your sensitivity until your device can deliver consistent performance. Stable 40 FPS with calibrated sensitivity outperforms unstable 60 FPS with copied pro settings.
Using Sensitivity Hack APKs
Any website or video claiming to offer automatic headshot sensitivity files or APKs is a scam or a bad risk. Free Fire’s anti-cheat system in 2026 actively detects modified game files. Stick to legitimate in-game settings adjustments only.
Final Words
The path to consistent headshots in Free Fire runs through correct sensitivity settings, daily Training Ground practice, and the right technique, not hacks or copied presets.
Apply the device-specific settings from this guide as your starting point, commit to practicing the drag headshot technique daily, and fine-tune your values gradually based on real in-game performance. Within weeks, you will see your headshot percentage rise consistently. The red numbers will follow.
FAQs
1: What is the best sensitivity for Free Fire headshots in 2026?
For 4GB RAM devices, General 120-140 and Red Dot 100-115 provide the best balance of speed and control for drag headshots. Adjust based on your device’s actual performance.
2: Should I use the same sensitivity for all devices?
No. Sensitivity values must be adjusted for your specific device’s RAM, screen refresh rate, and FPS performance. Values that work perfectly on a 6GB RAM phone will be uncontrollable on a 2GB RAM budget device.
3: How long does it take to master headshots in Free Fire?
With 15 to 20 minutes of daily Training Ground practice, most players see meaningful improvement within two to three weeks. Pro-level consistency typically requires two to three months of dedicated practice.
4: Is there a sensitivity code for automatic headshots?
No. Any app, website, or file claiming to provide automatic headshots is either a scam or a hack that will get your account permanently banned. All legitimate headshot improvement comes from correct sensitivity settings and practiced technique.
5: Does a gyroscope help with headshots in Free Fire?
Yes, when used correctly. The gyroscope allows precise fine-tuning of aim by tilting your device, making drag headshots and scope adjustments more natural. Start with Scope On gyroscope mode to use it only while scoped before transitioning to Always On if you find it comfortable.
6: What is the drag headshot technique?
The drag headshot technique involves aiming at an enemy’s chest, pressing and holding the fire button, then dragging your aim upward toward the head in one smooth motion. This technique exploits natural bullet spread and upward recoil to land headshots more consistently than aiming directly at the head.
7: Do sensitivity settings affect all weapons equally?
General sensitivity affects all non-scoped combat. Each scope type has its own sensitivity value. Adjust each scope sensitivity separately based on how you perform at different engagement distances.
8: What is the best HUD layout for headshots?
A 3-finger claw setup with a fire button sized 50-70% positioned on the right side of the screen provides the best conditions for consistent drag headshots. Beginners should start with 2 fingers and progress to 3 fingers as coordination improves.